Wicked Zombies

YOU ONLY LIVE ONCE...MAYBE TWICE!

Posted by Black Plague 11/30/2013

25 DIY Weekend Preparedness Projects.
http://foodstorageandsurvival.com/25-diy-weekend-preparedness-proje...

25 easy DIY prepper projects for preparedness and survival.
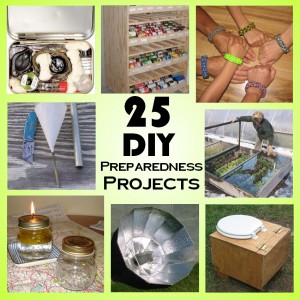
Have some extra time on your hands?  Looking for projects you can do today (or this weekend) to be better prepared?  Well, look no further.  Here are 25 great weekend preparedness projects I’ve gathered up from around the web.  Great for the prepper, survivalist, or anyone wanting to be a little more prepared at the end of the day.  Each of these projects are fairly low budget (some only require your time and a piece of paper) and shouldn’t take longer than a couple of days to complete–many won’t take more than a couple of hours.  Tackle one (or more) this weekend and you’re that much more prepared than you were yesterday!

FOOD and COOKING Projects

1.  Make a rocket stove with empty cans.  You might need to have soup for lunch to get enough cans for this.

2.  Build a Solar cooker–The link has lots of different designs you could try–some even using those shiny vehicle windshield shades.  If you’ve got some extra time and a sunny day, try cooking something in your new cooker!

3.  Make your own homemade survival bars.  Be sure to read through the comment section on that post–there are some really good ideas for changing them up a bit.

LIGHT and FIRE Projects

4.  Make some dryer lint fire starters.

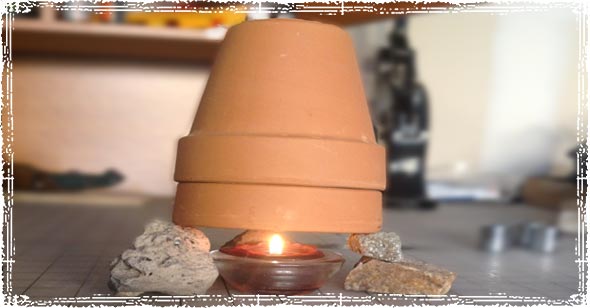
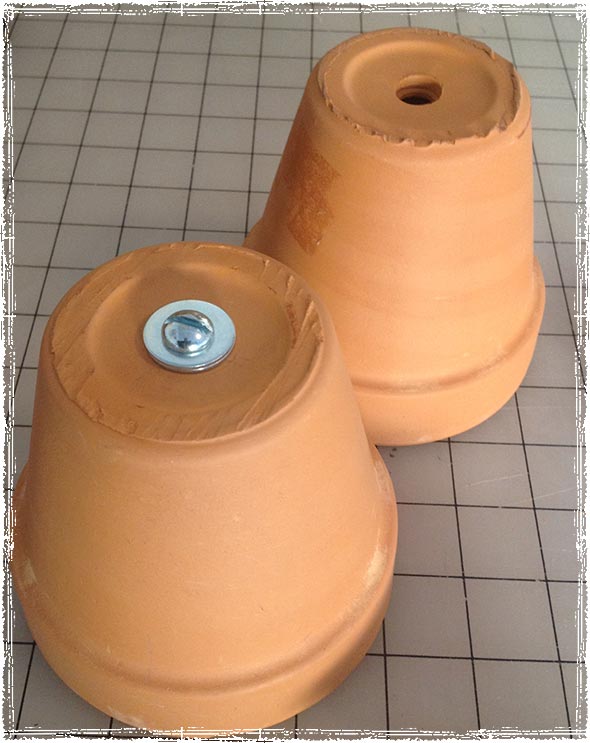
5.  Build a heater out of a candle and some terra cotta pots.

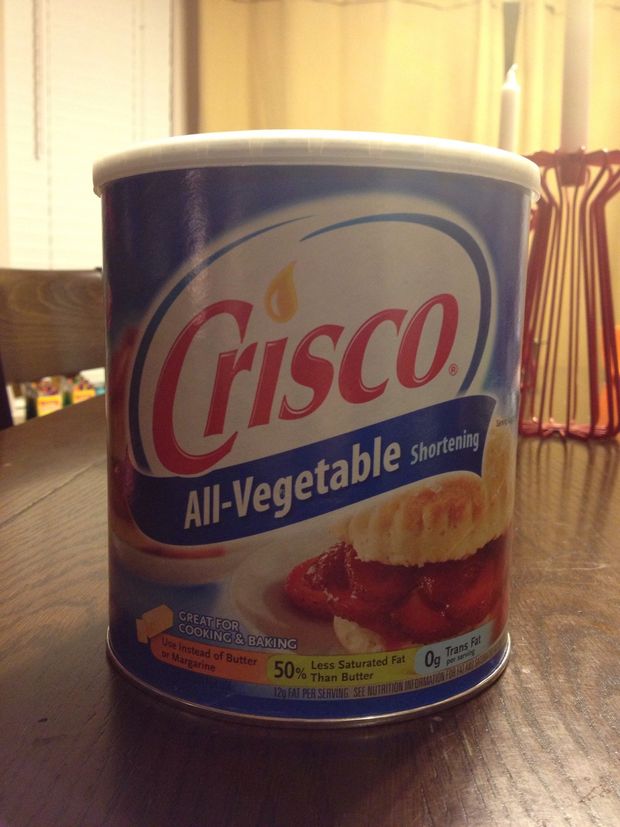
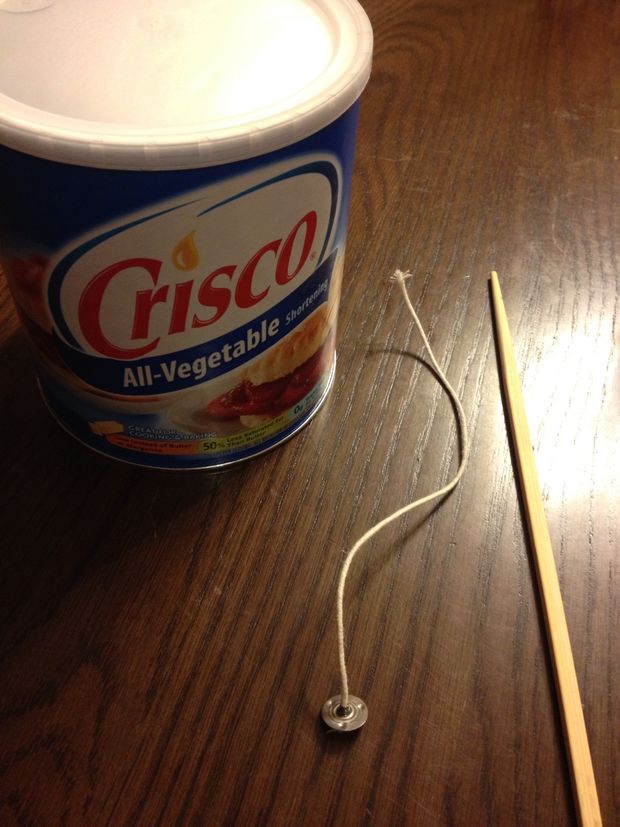
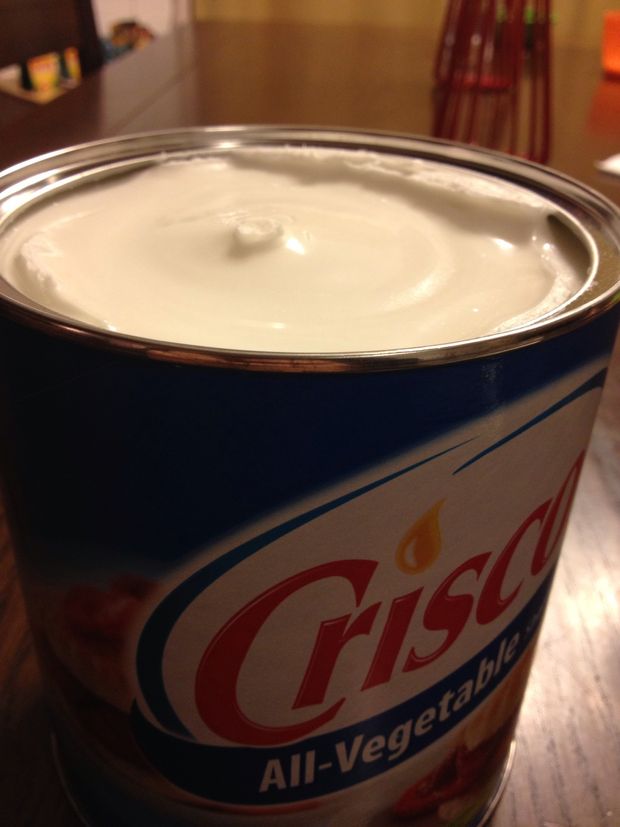
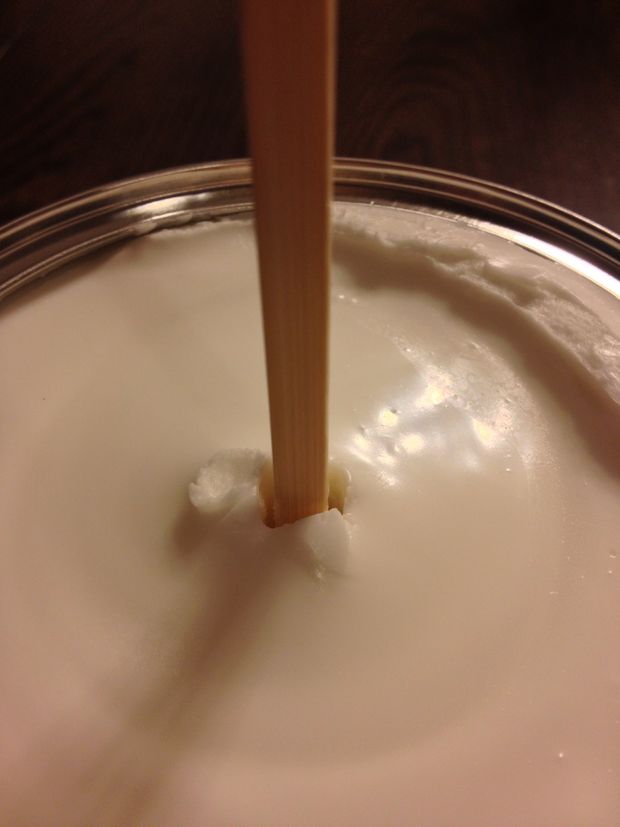
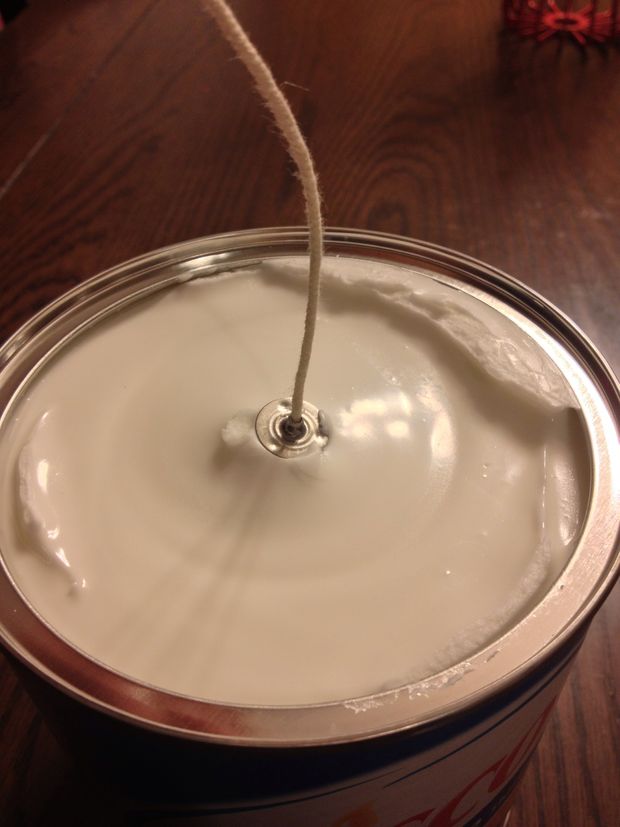
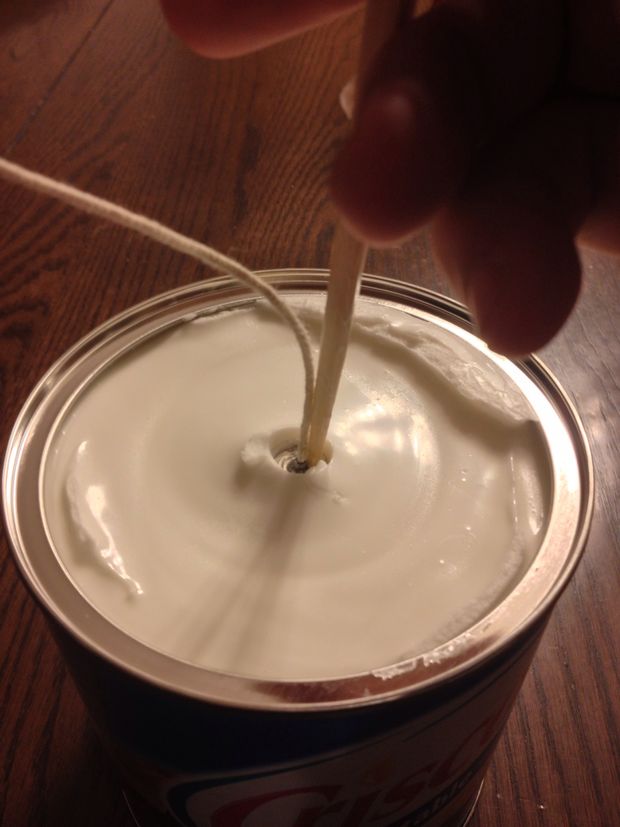
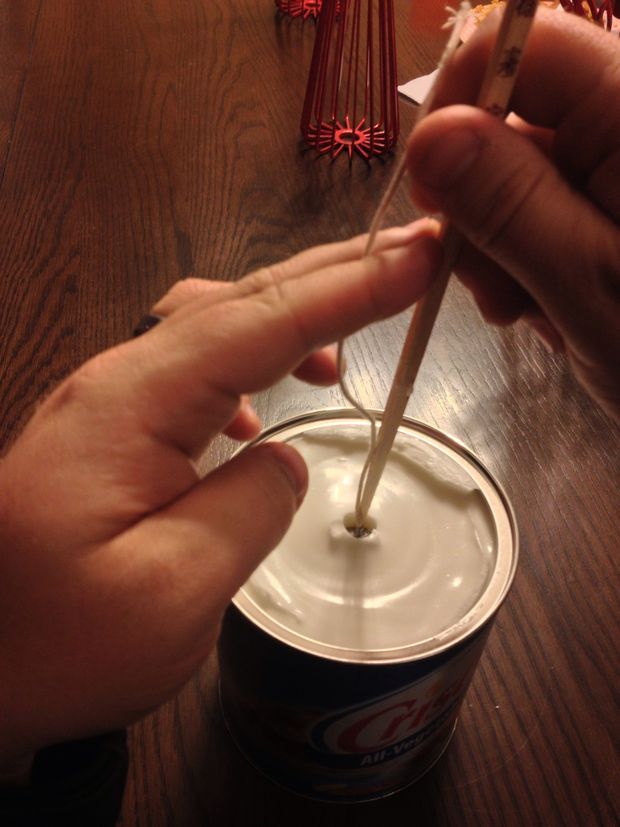
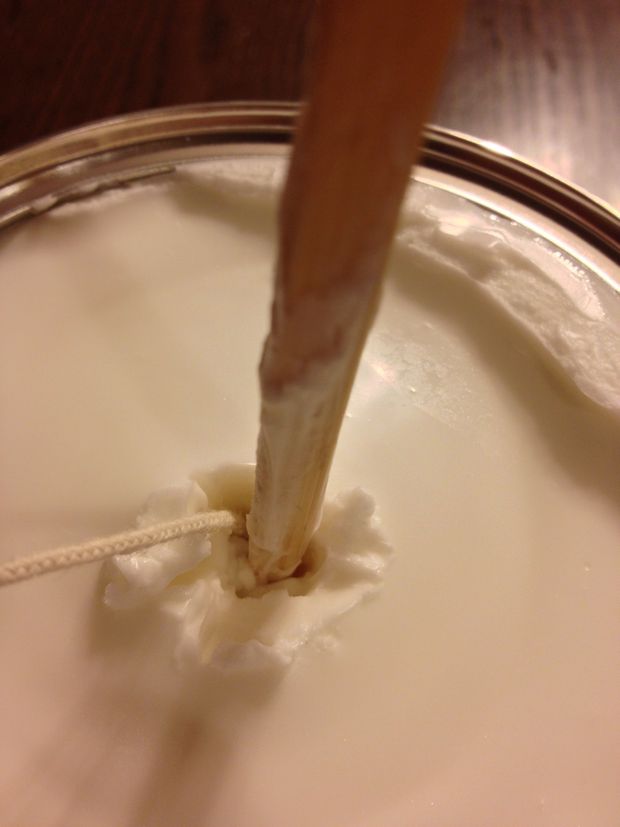
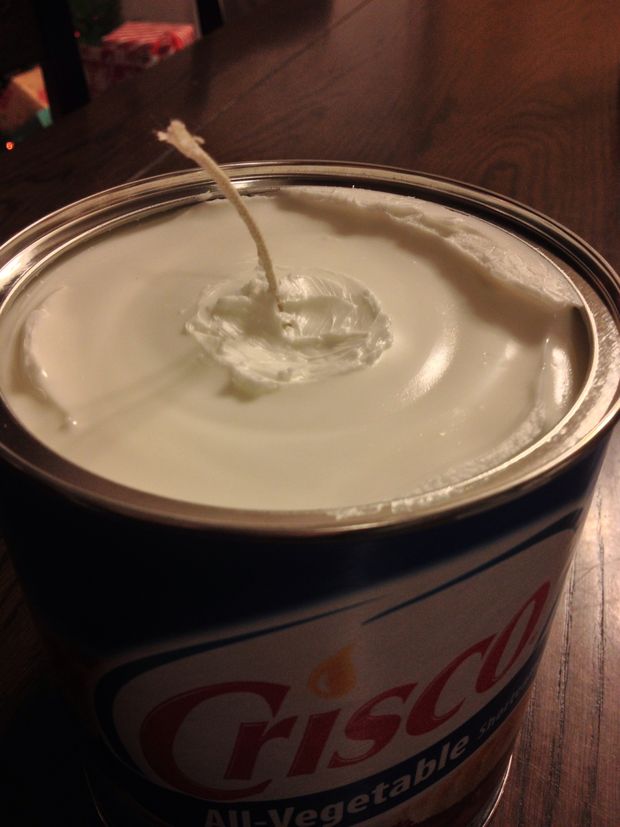
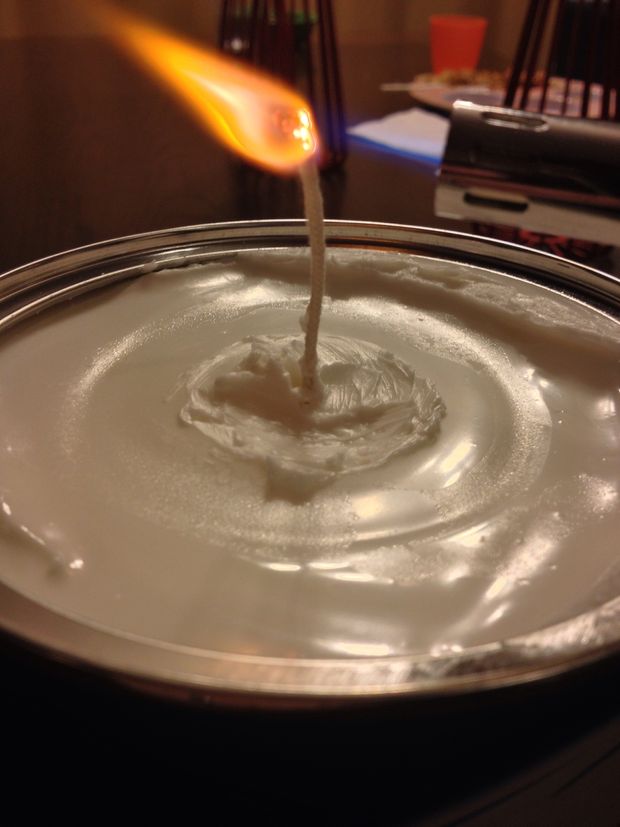
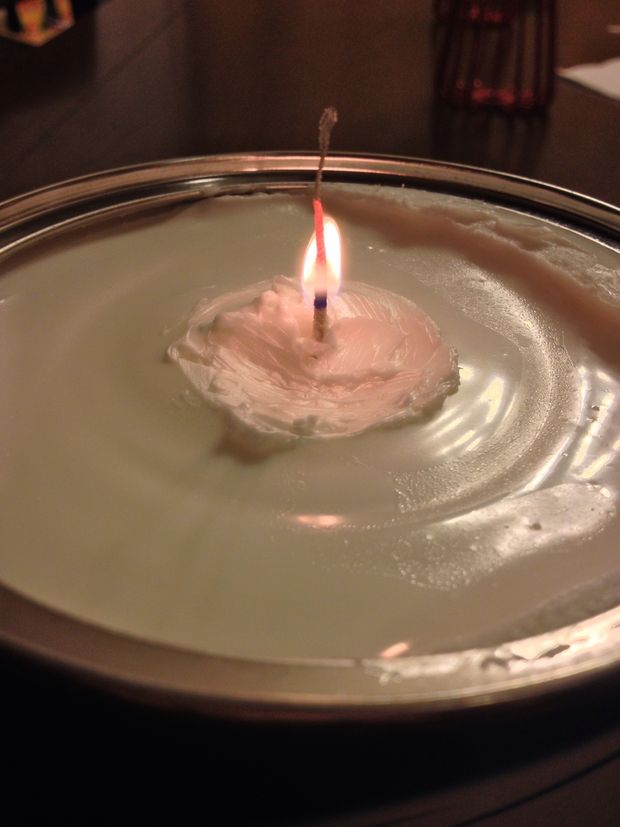
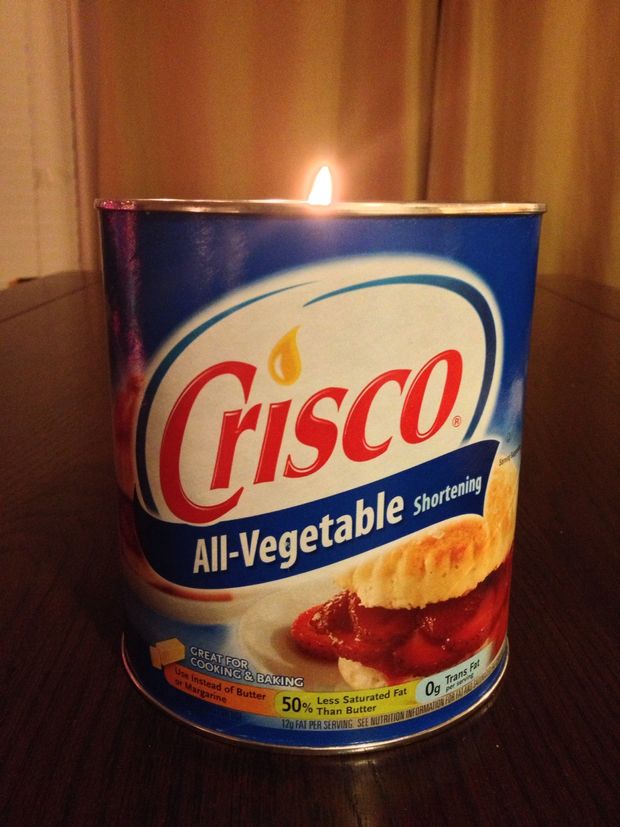
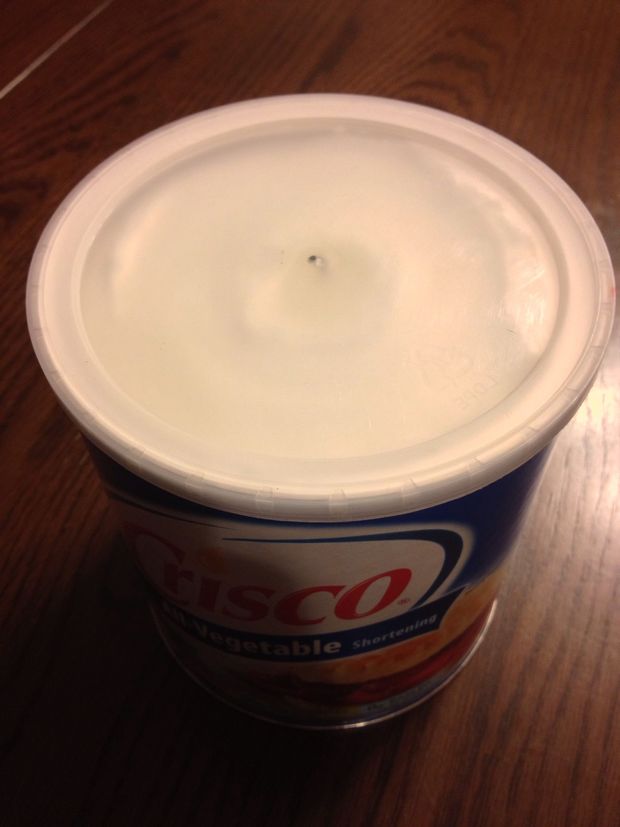
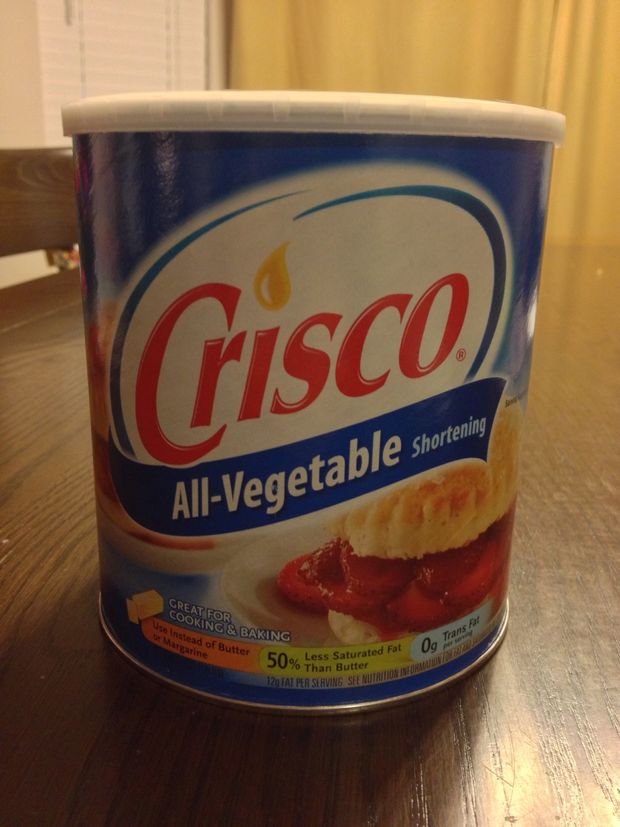
6.  Make a candle from a tub of Crisco.

7.  Make an oil lamp.

8.  Not enough light for you?  Okay, make a torch!  Just like in the movies!

WEAPONRY Projects

9.  Build a PVC bow.

10. Make a blow dart gun.

11.  Take a trip to a shooting range.  If you don’t have a gun of your own, some ranges have them to rent.  Take a friend or your spouse if you can and do some shooting.

12.  Build a shooting bench.  Downloadable plans at the link.

FOOD STORAGE Projects

13.  Build a space saving can rotator rack:  or this one that’s a little more finished looking (read: takes longer)....  You could also make alarger standing unit if you’re really crafty with wood and tools.

14.  Add some “earthquake proofing” to your food storage shelving.  See this post at Prepared LDS Family for some great ideas and be sure to scroll down into the comment section as well.

15.  Get in your food storage room and do an inventory or some organizing.

GARDENING Projects

16.  Build a cold frame for winter gardening.

17.  Plant a container garden.  If you have a warm, sunny room, you can grow some vegetables all year long even in cold climates.

18.  If it’s warm enough where you live, get outside and plant something.

GENERAL SURVIVAL Projects

19.  Make a paracord survival bracelet.

20.  Protect your electronics with your own homemade metal trash can faraday cage.  Check the video at the  previous link and click here for some instructions on how to make one (scroll WAY down the page to get to the pictures).

21.  Try picking a padlock with a soda can.

22.  Put together an important documents binder.  Here is a starter list of documents you’ll want to include.

23.  Put together a survival kit in an altoids tin.  There are many variations on this type of kit.  You can do a google search to get ideas of what people are putting in theirs, or head over to Field and Stream for a starting point.  Have a little more time and money?  Put together a full 72 hour emergency kit for yourself or your family.

24.  Write down your evacuation plan including what you’re taking, where you’re going, and a meetup plan in case someone isn’t home at the time you need to leave.  Include any other family members that may be affected.  I like having a 10 minute list and then an additional items list if you have a little more time before you have to get out of your house.  If you’re feeling really ambitious, run a mock evacuation drill with your family!

25.  Build your very own composting toilet.  With only one bathroom in our house I’ve seriously considered this numerous times–maybe this weekend is the one I set out building one of these!

Views: 279

Reply to This

Replies to This Discussion

1.Rocket Stove with Empty Cans:

It's AWESOME....

   Will have to try that...

Thank You! I am going to post all 25 DIY Weekend Preparedness Projects...

Sounds good to me...I will try and find some more as I start to get some things taken care of on my end...

Komrad I Hope you & your family are Well. 

Have you found or made any new DYI Projects?

2. How to Build a Solar Oven

There are a variety of ways you can teach your kids multiple lessons at once, and building a solar oven is a fun and easy project that will educate them about solar power and basic cooking science all at once. A solar oven could come in very handy in a survival or disaster situation, which is another set of lessons on its own. You can use materials you already have around the house, or purchase what you need for very little money. Let’s take a look at how to build a solar oven.

Gather Materials

build a solar ovenThe materials required to build a solar oven are simple and affordable, many of which you probably have at home right now.
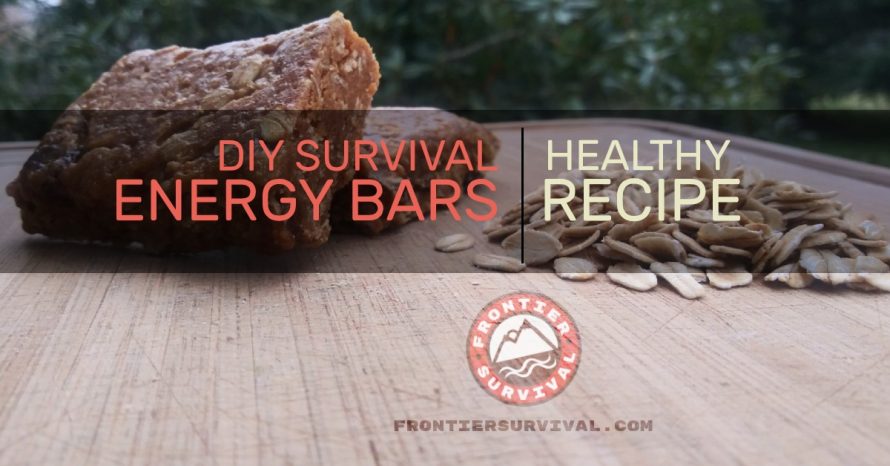
  • scissors
  • empty pizza box
  • aluminum foil
  • clear tape
  • plastic wrap
  • black construction paper or paint
  • newspaper
  • ruler, wooden rod, or stick
  • oven thermometer

Assembly

First, cut the lid of the pizza box on three sides about an inch from the edges to make a top flap. Next, wrap a sheet of aluminum foil on the underside of the flap, folding it up and out so that light shines into hole.

Next, cover the hole with with plastic wrap so as to create an airtight seal (it’s best to do this by opening the box and taping the plastic down with your clear tape from the inside). Line the bottom of the box with black construction paper or paint it black, then placed rolled up newspaper around the border to use as insulation.

Prop up the lid with your ruler or stick, place your food inside on a plate or in a bowl (metal works best), and watch as the sun does the work of cooking. Before closing, make sure to insert your thermometer so you can check the temperature as you go.

Get Cooking

The best time to use a solar oven is between the hours of 11A and 3P when the sun is highest in the sky. Though it might take a bit longer than a microwave or oven, cooking with a solar oven provides a hands-on experience that kids will enjoy taking part in and actually eat the fruits of their labor.

3. Homemade Survival Bars:

Homemade Energy Bars

Tasty Homemade Energy Bars Recipe


Having enough calories per day is an essential part of surviving in an emergency situation, and energy bars can pack quite a punch when it comes to getting sufficient calories. The problem is that most of the energy bars you can buy in stores either taste like crap, or they have ingredients you may not want your family to eat. The good news is that you can make your own delicious AND healthy homemade energy bars that also work great as “ration bars” for your bug out bags, survival kits, and food storage!

What’s even better is these homemade energy bars are super easy to make. You only need a handful of ingredients, a few hours of dehydration on the lowest setting of your oven, and a vacuum sealer. The ingredients contain healthy sources of protein, iron, salt and fat. The sweeteners are natural and will give you the boost of energy, nutrition ,and calories you need.

The best part about these homemade energy bars is…you know exactly what ingredients are used to make them. No surprises. No mystery gelatin, no high fructose corn syrup, and no chemical additives. That is also what makes them something you can eat more often! Plus, you can alter the recipe to suit your specific tastes or needs (like swapping out peanut butter for almond butter). 

These are “no bake” energy bars, and they can be consumed without dehydrating them, but the texture will be soft and sticky. Dehydrating them will make them firm and chewy and a lot easier to eat on the go. They take about 15 minutes to make, a few hours to dehydrate, and another 5-10 minutes to seal and store. 

Video Player
00:00
04:36

Here are the Ingredients You Need to Make These Tasty Homemade Energy Bars 

  • 2 C Quick oats or rolled oats (quick oats are less chewy)
  • 1 C Chunky peanut butter
  • ¼ C + 2 T Honey
  • 2 C Powdered milk
  • 1 C Brown sugar
  • ¼ C Molasses (for added iron)
  • ¼ C Water or Fruit Juice
  • Splash of bottled lemon juice
  • Optional : Dried fruit like raisins, coconut, apricots, etc.
  • Food processor & vacuum sealer with plastic sleeves for the number of bars you make

Step One : Mixing your dry ingredients together

In a large bowl, place your oats, powdered milk and brown sugar together and stir until combined. Set aside.

Step Two : Mix your wet ingredients together

In a separate bowl, mix the lemon juice, honey, molasses and peanut butter together and add your dry mix to the wet mix and stir until the oats are thoroughly coated and you have a thick batter. Mix in any dried fruit.

Step Three : Shape your bars

Line a baking sheet with parchment paper and place the batter onto the sheet and place another sheet of parchment paper on top. Press out the batter into an even layer and score the batter into the size bars you want to have. Refrigerate for 1-2 hours. Remove bars from the fridge and cut them to separate completely.

Step Four : Dehydrate your bars

Place your bars onto a mesh tray and dehydrate them for several hours until they reach the consistency you desire – just remember to flip them over half way during the dehydration process. 

Step Five : Store your homemade energy bars

Remove the bars from the dehydrator and allow them to cool down to room temperature, or place them into the refrigerator for 1 hour. Prepare your vacuum sealer and seal the bars for storage. These will last for 6 months if kept in a cool, dark and dry place. The peanut butter is really the only ingredient that could go “rancid” so make sure to make more every 6 months.


That’s all there is to it! Now you can make these tasty, healthy, storable homemade energy bars for your survival provisions. Make some today to include in your family’s bug out bags and survival kits.

4. How to make dryer lie fire starter:

lint fire starters

Forget about paying for fire starters. You can make all the fire starters you need for free.

Difficulty: Easy

Time Required: 15 minutes or less


What You Need

  • Dryer Lint
  • Cardboard Egg Cartons
  • Candle Wax (old candles work great)

Steps

  1. Fill each cup of the egg carton with dryer lint.
  2. Melt the wax in a double boiler.
  3. Pour the wax over top of the lint.
  4. Allow the wax to cool and harden. Then, cut the egg carton up to create 12 fire starters.

To use: Simply place a fire starter in your fireplace (or firepit) with your kindling and light. The wax will keep the starter going long enough to ignite your kindling.

Haven't done much since I got remarried...Got fired from home health care and started working security guard...So haven't had time to do much...lol

5. Heater out of a candle and some terra cotta pots:

With cold weather fast approaching, I wanted to share a cool little project that I did over the weekend that can provide some extra heat during a grid-down emergency situation. With the heat from a single candle, it is possible to heat a small area during an emergency ­– if you can capture that heat.

Step One: Build a Small Emergency Shelter inside your home.

If you live in an apartment, or a house that doesn’t have a fireplace or wood burning stove, winter power outages can quickly turn into life-threatening emergencies. When the temperatures start to plummet, you need to take action.

The first step you should take is to build an emergency shelter, or warm room, within your home. It’s a lot easier to heat a small walk-in closet or pantry than it is to heat an entire home. So the first thing you want to do is find a small room or closet, and then start insulating.

  • Line the walls with couch cushions, blankets, or anything else you can find that can trap heat inside the room. Think about when you were a child and built forts in your bedroom; we’re going for a similar concept here.
  • If you have an emergency reflective blanket, putting one up can help reflect heat back into the room.
  • Depending how many people are in the room, body heat alone can be enough to keep the room at a tolerable temperature.

Step Two: Build a Single Candle Terracotta Pot Emergency Heater

Once you have your shelter built, a single candle can be used to help heat the room. Building a small Terracotta Clay Pot Radiator allows you to capture the heat generated from a candle, heat that is normally wasted, and slowly build it up inside a makeshift radiator.

The Single Candle Clay Pot Heater

Building the Clay Pot Candle Heater

The heater is actually pretty simple to make. One long bolt, a dozen washers or so, about 7-8 nuts, and a couple small terracotta pots is all you need.

Terracotta Pots

  • Place the Long Bolt through the Terracotta pot, separating each pot with a couple washers and a nut.
  • The Center bolt, washers, and nuts will all conduct the heat from the candle. The metal core will get extremely hot, trapping the heat and radiating it out to each clay pot.
  • The heat will slowly build up inside the pots, and then will begin radiating heat around the clay pots.

Inside the Clay Pot Radiator

I’ve seen this project on some other sites, where people suggest it can be used to heat a home for pennies a day; IT CANNOT!

This is in no way meant to heat a house or even a large room, but in an emergency situation, it’s a good way to capture heat from a candle and then radiate it out into a small area.

6. Emergency Candle Out of Crisco

Make a 45 Day Emergency Candle Out of Crisco

TOOLS

Did you know a very simple to make but extremely useful emergency candle is only a cupboard away? An interesting fact. The Crisco brand was originally a candle company.

Gather your supplies. Any size tub will do but the standard 48oz lasts longer. You can pick up a candle wick at most craft stores or the Internet. 10" wick works well for this tub.

Open the can. If you decide to taste it, it will taste bad.

Take your stick, in this case a Chopstick. Find the center and poke a hole.

Go all the way to the bottom of the tub.

Place your wick on top of the hole. The good thing about pre-made wicks like this is the metal piece. You can use a standard wick / string, but the metal piece makes it a bit easier to push in.

Use one hand to hold the string then use the chopstick hand to start working the wick down the hole.

I found if you keep it pretty straight and taut you can get a good push on the metal piece.

Work it all the way down to the bottom.

The hole might seem a bit big but don't worry about this. It fills in naturally and when you burn. Smooth the top area around the hole with your finger and lock the wick in place.

Light it!

The top part will burn off in a few seconds. Once the fire hits the Crisco, it will start acting like a normal candle.

That is it! Your candle will now burn for a very long time. I still have not tested the whole 45 days but from what I can see, it should hold up for a long time.

When you are done. Blow it out and let it cool.

Bonus, the lid makes it easy to store.

This makes a very cost effective long lasting emergency candle. I recommend storing the items separately and making the candle when needed. A sealed Crisco container will last a long time.


7.  Make an Oil Lamp:

How To Make A Oil Lamp:

An oil lamp is easy to y have all the supplies at home. You can customize them easily using fragrant oils and fun additions, such as pine sprigs. This article will show you a few ways to make an oil lamp. It will also give you a few ideas on how to customize yours.

Method1

Making a Cork and Jar Oil Lamp

  1. Image titled Make an Oil Lamp Step 1
    1
    Gather your supplies. This lamp is simple and easy to make. It requires few supplies, making it perfect for emergencies. Here's a list of what you will need:
    • Squat mason jar or bowl
    • 100% cotton cord or lamp wick
    • Craft knife
    • Scissors
    • Cork
    • Nail and hammer
    • Olive oil
    • Water (optional)
  2. Image titled Make an Oil Lamp Step 2
    2
    Find a piece of cork. You can get a cork from a wine bottle or purchase a bag of craft corks from an arts and crafts shop. You can also use sheet of cork that's at least ¼ inches thick.
  3. Image titled Make an Oil Lamp Step 3
    3
    Cut the cork so that it is flat on the bottom. Cut your cork horizontally using a craft knife. If you are using a flat, squat cork, you don't need to cut it. The cork will help keep your wick afloat.
    • If you are using a sheet of cork, cut it into a small circle or square. It needs to be small enough to fit inside your jar, but large enough so that it won't sink under the weight of the wick.
  4. Image titled Make an Oil Lamp Step 4
    4
    Use a needle or a nail to poke a hole through center of cork. The hole needs to be wide enough for the wick to be able to slip through, but not so wide that the cork slides off when you hold the wick upside down.
  5. Image titled Make an Oil Lamp Step 5
    5
    Pull your wick through the hole in the cork. The wick should be no more than an inch (2.54 centimeters) above the hole.
  6. Image titled Make an Oil Lamp Step 6
    6
    Trim the wick down so that it can fit inside the jar. Hold the cork so that it is about two-thirds to three-fourths of the way up the side of the jar. Trim the wick down until the end touches the bottom of the jar.
    • If you don't have a jar, you can use a pretty glass bowl instead.
  7. Image titled Make an Oil Lamp Step 7
    7
    Fill the jar two-thirds to three-fourths of the way with olive oil. Olive oil is great to use, because it burns clean. It does not contain harmful chemicals, and it does not leave behind bad smells.
    • If you want to save on oil, use one part water and one part oil.
  8. Image titled Make an Oil Lamp Step 8
    8
    Place the cork on the oil. Try to float it as much in the center as you can.
  9. Image titled Make an Oil Lamp Step 9
    9
    Wait 15 minutes before lighting the lamp. This will give the wick enough time to absorb the oil and make it easier to light.
Method2

Making a Wire and Jar Oil Lamp

  1. Image titled Make an Oil Lamp Step 10
    1
    Gather your supplies. This lamp uses a jar and a bit of wire. It's great for those who have jars but either don't have the lid anymore or don't want to poke a hole in the lid. Here's a list of what you will need to make this lamp:
    • Squat mason jar
    • 100% cotton cord or lamp wick
    • Olive oil
    • Scissors
    • Floral wire
    • Wire cutters
  2. Image titled Make an Oil Lamp Step 11
    2
    Trim the wick down with a pair of scissors so that it can fit inside the jar. The thicker wick you use, the larger flame you will get. If you want something small, go for a #2 or ¼ inch lantern wick.[1]
  3. Image titled Make an Oil Lamp Step 12
    3
    Cut a piece of thin wire using wire cutters. The wire needs to be long enough so that it can hook over the mouth of the jar when doubled. You will be using it to support your wick.
    • Avoid using plastic-coated, painted, copper, or zinc/galvanized wire.[2]
    • Do not use scissors. Not only could you hurt yourself, but you'll also dull the scissors.
  4. Image titled Make an Oil Lamp Step 13
    4
    Place the wick in the center of your wire and fold the wire in half. You are sandwiching the wick between the two halves of the wire. The tip of the wick should be no more than an inch (2.54 centimeters) above the lip of the wire.
  5. Image titled Make an Oil Lamp Step 14
    5
    Gently twist the two halves of the wire together. The wire needs to be tight enough so that it can suspend the wick, but loose enough so that you can still pull the wick up and down.
  6. Image titled Make an Oil Lamp Step 15
    6
    Position your wick over the center of the jar. It's okay if the wick dips down a little bit into the jar. If it dips down too far into the jar, try bringing it a little bit closer to the rim.
  7. Image titled Make an Oil Lamp Step 16
    7
    Hook the end of the wire over the lip of the jar. The wire should now be holding the wick just inside the mouth of the jar. If the wire does not hold its shape, you can try wrapping another piece of wire around the neck of the jar, securing the wick-holding-wire to the jar.
  8. Image titled Make an Oil Lamp Step 17
    8
    Fill the jar about two-thirds to three-fourths of the way with olive oil. Olive oil is great to use because it doesn't contain dangerous chemicals. It also burns clean and doesn't stink.
  9. Image titled Make an Oil Lamp Step 18
    9
    Wait 15 minutes before lighting your wick. This will give the wick enough time to soak up the oil and allow you to light it.
Method3

Making a Lidded Jar Oil Lamp

  1. Image titled Make an Oil Lamp Step 19
    1
    Gather your supplies. This lamp is great for patios, but it requires a little bit more work. The ending result, however, is worth it. Here's a list of what you will need:
    • Mason jar
    • Mason jar lid
    • 100% cotton cord or lamp wick
    • Olive oil
    • Hammer
    • Screwdriver or nail
    • Pliers (optional)
    • Two blocks of wood
    • Tape (optional)
    • Metal washer or nut
  2. Image titled Make an Oil Lamp Step 20
    2
    Place the mason jar lid upside down between two blocks of wood. If your lid comes apart, set the ring part aside and use the disk part for now. The two blocks of wood should be about 1 inch (2.54 centimeters) apart. The gap should be right in the middle of the lid.
  3. Image titled Make an Oil Lamp Step 21
    3
    Punch a hole into the jar lid. Position your nail or screwdriver right over the middle of the middle. Use your hammer to force the nail or screwdriver into the lid. Once you have poked the hole, set the hammer aside, and wiggle the nail or screwdriver out.
  4. Image titled Make an Oil Lamp Step 22
    4
    Widen the hole, if necessary. The hole needs to be wide enough so that you can slide your cord or wick through. It needs to be tight enough so that it can support the cord or wick and hold it up over the jar. If your hole needs to be widened, you can use a pair of pliers to peel the edges of the hole towards you.
  5. Image titled Make an Oil Lamp Step 23
    5
    Slip your wick through the hole. The tip of the wick should be now sticking up through the top of the lid. If you want, you can wrap the tip with some tape first; this will prevent the wick from unraveling as you work it through the hole.
    • You can also use a 100% cotton cord.
  6. Image titled Make an Oil Lamp Step 24
    6
    Consider slipping a metal nut over the wick. This will hide the hole in the jar, and make your lamp look neater. The tip of the wick should be sticking no more than 1 inch (2.54 centimeters) above the top of the nut. Make sure that the inside diameter of the nut is the same as your wick.
    • If you used tape, be sure to snip the taped part off once you have the wick through the nut and hole.
  7. Image titled Make an Oil Lamp Step 25
    7
    Fill the jar one-fourth to one-third of the way full with olive oil. You can also use other types of oil as well, such as citronella or lamp oil. Olive oil, however, is the safest because it does not contain any harmful chemicals.
  8. Image titled Make an Oil Lamp Step 26
    8
    Place the lid back onto the jar and wait 10 to 15 minutes. This will allow the cord or wick to soak up enough oil so that you can light it.
Method4

Customizing Your Oil Lamp

  1. Image titled Make an Oil Lamp Step 27
    1
    Consider customizing your lantern before you add the oil in. This section will give you a few tips on how you can make your oil lamp look and smell prettier. You don't have to use all of the ideas in this section. Just choose one or two that appeal to you the most.
  2. Image titled Make an Oil Lamp Step 28
    2
    Add a few drops of your favorite essential oil or candle fragrance into the oil lamp. This can give your lamp a more fragrant smell as it burns.[3]
    • If you want something calming or relaxing, consider using lavender or vanilla.
    • If you want something refreshing, consider using lemon, lime, or orange.
    • If you like cool, fresh scents, you might like eucalyptus, mint, or rosemary.
  3. Image titled Make an Oil Lamp Step 29
    3
    Slip in a few sprigs of your favorite woody herb. This will not only make your jar look prettier, but the herbs will give the oil a faint fragrance as it burns.[4] Great herbs to use include:
    • Rosemary
    • Thyme
    • Lavender
  4. Image titled Make an Oil Lamp Step 30
    4
    Give your jar a burst of color with some citrus slices. Cut a lemon, lime, or orange into thin slices and slip those slices into the jar. Push them against the walls of the jar so that the center jar is mostly empty. The citrus slices will not only give your jar a burst of color, but they will also give the oil a nice smell when it burns.[5]
  5. Image titled Make an Oil Lamp Step 31
    5
    Match your jar to your decor by filling it with other items. Just don't get too carried away, of you won't have enough oil in the lamp for it to burn. Here are a few ideas to get you started:
    • For a nautical or beach-themed lamp, you can fill your jar with seashells and sea glass.
    • For a festive lamp, try adding some cedar cuttings, holly berries, and small pine cones.
    • For a more fragrant festive lamp, add in some pine sprigs and cinnamon sticks.
  6. Image titled Make an Oil Lamp Step 32
    6
    Consider adding a few drops of food coloring if you are using water in your lamp as well. Fill your lamp part way with water and add a few drops of food coloring. Stir the water with a spoon, then add your wick and oil. The water will sink to the bottom and the oil will float on top, giving you a stripped effect.

RSS

Wicked Books

Our Sponsors


View more gifts at Zazzle.

WICKED ZOMBIES members appreciation.

The WICKED member who has unyielding Dedication and Loyalty to the KOMRADZ:

Priest

The WICKED member who has Outstanding Constancy:

Jessie W. Garrett III

The WICKED member who Contributed the most Original Zombie Discussions and Replies:

saint.357

They will receive a WICKED ZOMBIES Goody Box with Wicked Treats.

Blog Posts

Going through a lot


   Well, wanted to juststop in and check on things...Been a long time since I have stopped by...Well things are not going as well as I would have hoped, but, you know, that's life...

   Some good things are my son, has turned 18 and has also graduated high school...I'm very proud of him...He has plans of going back to school after the getting a job and saving money for the school with the music production studies he wants to do...So I am very proud of…

Continue

Posted by Jessie W. Garrett III on June 26, 2023 at 1:00am

© 2024   Created by Komrad Venessa Wicked☭.   Powered by

Badges  |  Report an Issue  |  Terms of Service

Groups Forum Videos Photos Blogs Invite You Friends My Page Main Page